Featured Exhibits
Sign up for the Newsletter
Advertise on ParachuteHistory.com
Disclaimer
Privacy Policy
About
PRO Pack: Steps 11-15
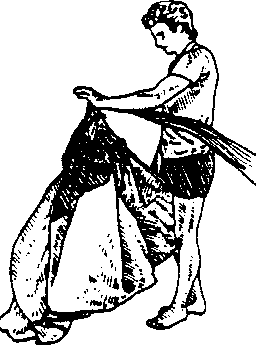 11. ...tuck and hold the leading edge between your knees.
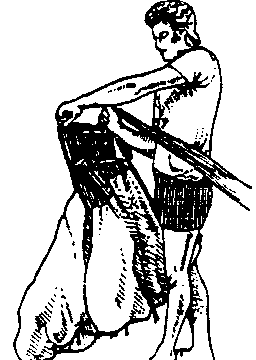 12. CLEAR THE STABILIZERS: Pull out the stabilizer on each end
cell. Start at the leading edge and work continuously toward the
trailing edge. Pull out the material that is between each line
attachment point. The cleared stabilizers will form an irregular
shape resembling the petals of a flower viewed from the top.
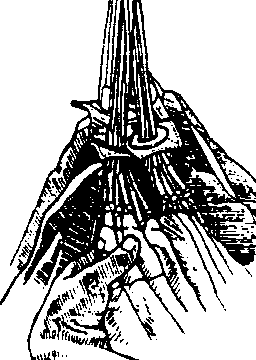 13. FLAKE THE CANOPY: Find the group of A lines on one side of
the canopy. With the canopy held in front of you as you have it
now, the A lines are the front part of the line group that pass
through the front slider grommets. The A lines should be closest
to you and are the shortest lines. (Each load-bearing cell rib
has four lines attached to it: the A line at the leading edge,
followed by the B and then the C lines, ending with the D line
closest to but not on the trailing edge. Some cells have control
lines attached to them at the trailing edge. The A and B lines
pass through the front grommets of the slider, while the C, D
and control lines all pass through the rear grommets.)
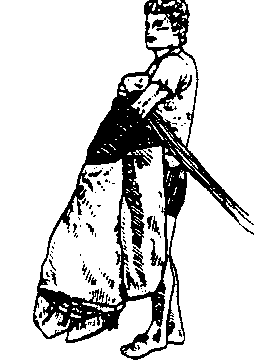 14. Flake the rest of the canopy as the stabilizers. Put your hand
in between the A and B lines on one side, near where the lines
pass through the slider grommet. There is a lot of fabric between
the A and B line attachment points so it's easy to separate the
two line groups. Pull the material out to one side. This will
give the cells on one side the correct type of flaking. Repeat
with the other A and B line groups, pulling the fold out the other
side.
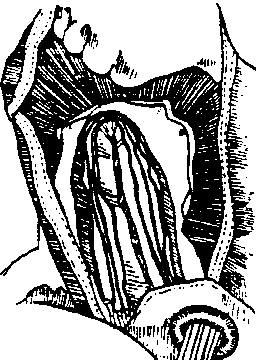 15. Put your hand between the B and C lines on one side, near
where the lines pass through the slider grommet. Pull the material
between the B and C lines out to one side. Repeat with the other
B anc C line groups, pulling the fold out the other side. When
you look down between the stabilizer folds after you've done you
flaking, the folds should look nice and neat like this.
[Products] | [Services]
[Join Our Mailing List] | [Advertise on ParachuteHistory.com]
[ ]
[Disclaimer] | [Privacy Policy] | [About]