Featured Exhibits
Sign up for the Newsletter
Advertise on ParachuteHistory.com
Disclaimer
Privacy Policy
About
PRO Pack: Steps 16-20
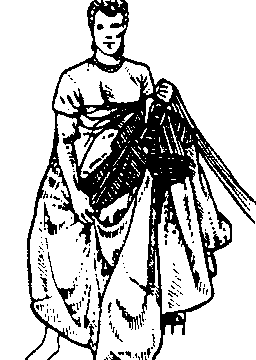 16. FLAKE THE TRAILING EDGE: Find the D line group on one side
of the canopy. The D lines are NOT attached to the trailing edge.
Control lines are attached to the trailing edge.
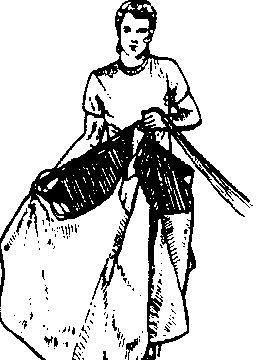 17. Pull one side of the D line group out gently.
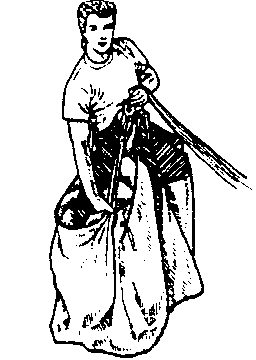 18. Fold the material between the C and D lines with one motion
as you bring the D lines into the center again. Do the same thing
on the other side.
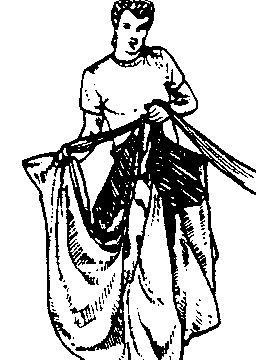 19. FLAKE THE TRAILING EDGE: Grasp the control lines where they
attach to the trailing edge. Pull the entire trailing edge out
and drop it straight down.
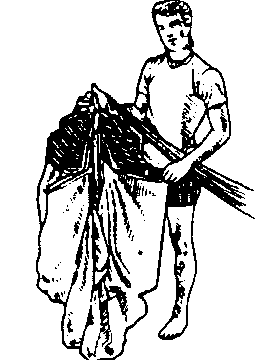 20. Flake the trailing edge neatly on each side as shown. Start
at the ends cell and work continuously towards the innermost control
line attachment point. The center portion of the trailing edge---
the section between the left-hand and right-hand control lines---
can't be flaked and will hang down. This will be straightened
out next.
[Products] | [Services]
[Join Our Mailing List] | [Advertise on ParachuteHistory.com]
[ ]
[Disclaimer] | [Privacy Policy] | [About]